

Herringbone looks its best when the pattern sits perfectly flat, with tight joints and no bounce underfoot. That is exactly what glue-down LVT herringbone flooring is designed to deliver. Luxury vinyl tile, usually shortened to LVT, is a flexible vinyl product that is stuck directly to the subfloor with adhesive, plank by plank, so the finished floor becomes one bonded surface rather than a floating layer. In a herringbone layout, where every plank meets the next at a right angle and any drift in the pattern is immediately visible, that bonded stability is a genuine advantage.
This guide goes deeper on the LVT and glue-down variant specifically. Our broader guide to Herringbone Vinyl Flooring: A Complete UK Guide to Waterproof Styles, Fitting and Care covers both flexible LVT and rigid click vinyl together; here, the focus is on what makes glue-down LVT different, how to prepare for it, how it is fitted, where it suits best, and how to look after it. If your room is a kitchen, bathroom, hallway or utility space and you want the parquet look with a floor that stays put, this is the variant to understand first.
What Is LVT Herringbone Flooring?
LVT herringbone flooring is luxury vinyl tile cut into rectangular planks and laid in the herringbone pattern, where each plank meets the next at a right angle to form a broken zigzag. The pattern is the same classic parquet design found in traditional timber floors, but the material is vinyl through and through: layers of PVC topped with a printed wood-effect design and a clear protective wear layer. There is no fibreboard core to swell and no rigid stone-composite core to lock together, because glue-down LVT does not float or click. It is bonded to the floor beneath it.
The defining quality of LVT is flexibility. The planks are thin and pliable, which lets them follow the subfloor closely and sit almost flush with adjoining floors, a real benefit at door thresholds and where a new floor meets existing tile or wood. That flexibility is also why LVT feels softer and quieter underfoot than laminate or rigid vinyl, and why it is a popular choice in kitchens, where people stand for long periods, and in upstairs rooms, where footfall noise travels. It comes in the same broad range of wood tones as other herringbone vinyl, from pale oak to dark walnut, and the printed surface reproduces grain, knots and colour variation convincingly at normal viewing distance.
It is worth being precise about the name, because showrooms and retailers use vinyl terms loosely. In this guide, LVT means flexible, glue-down luxury vinyl tile, not rigid click vinyl. Rigid vinyl, usually sold as SPC, has a stiff composite core and locks together as a floating floor. It is a good product in its own right, but it behaves differently during fitting, feels different underfoot, and places different demands on the subfloor. Knowing which type you are buying before you order avoids the most common disappointment with herringbone vinyl: expecting one fitting method and getting the other.
How Glue-Down LVT Is Made
A glue-down LVT plank is built from several bonded layers, each with a job to do. At the bottom sits a backing layer that gives the plank stability and helps it bond evenly with the adhesive. Above it is the printed design layer, a high-resolution image of real wood that provides the oak, walnut or grey-washed appearance. Over the print sits the clear wear layer, the tough transparent skin that protects the design from scratches, stains and fading. Some ranges add a surface treatment on top of the wear layer to improve stain resistance and make cleaning easier, but the wear layer itself is the main line of defence.
Wear-layer thickness is the specification to compare when choosing between LVT ranges. Thicker wear layers withstand busy family traffic, pet claws, dragged chairs and grit for longer before the printed design underneath shows wear, while thinner wear layers suit quieter rooms with lighter use. The right choice depends on the room, not on buying the thickest option by default: a spare bedroom and a kitchen doorway do not face the same daily punishment, and matching the wear layer to the traffic keeps the floor looking good for its full lifespan. Ask the supplier to confirm the wear layer of the exact range you are considering, rather than assuming all LVT in a showroom is built to the same standard.
Because the planks are thin, LVT adds very little height to a floor. That low profile helps when doors need to clear the new surface, when the floor runs beneath kitchen units, and when it meets an existing floor in an adjoining room without an awkward step. It also means the floor transmits the character of the subfloor more faithfully than a thick floating floor does, which brings us to the single most important part of any glue-down LVT project: preparation.
Subfloor Preparation: The Step That Decides Everything
With glue-down LVT, subfloor preparation is not a preliminary chore; it is the job itself. A floating floor can bridge minor unevenness with underlay and a rigid core, but thin, flexible LVT cannot. Every dip, ridge, trowel mark, old adhesive lump, screw head or crack in the subfloor will eventually show through the surface, a problem fitters call telegraphing. It may not appear on fitting day, but as the adhesive cures and the floor settles into daily use, imperfections press their shape into the vinyl. A floor that looked flawless at handover can develop visible ridges within weeks if the base was not properly prepared.
A suitable subfloor for glue-down LVT must be smooth, level, dry, clean and structurally sound. Concrete subfloors usually need a smoothing compound, applied and allowed to cure fully, to create a flat, blemish-free surface. Timber subfloors usually need a plywood overlay, screwed down firmly so boards cannot move or squeak, with joints filled and sanded smooth. Old floor coverings, loose tiles, crumbling adhesive and paint or polish residues must be removed, because adhesive bonds only as well as the surface it grips. Moisture must also be checked, particularly over concrete and in ground-floor rooms, since trapped damp can weaken the adhesive bond and lift planks over time.
This level of preparation is why glue-down LVT herringbone is usually a professional job, even for confident DIYers. A professional fitter will test the subfloor for moisture and flatness, choose the right smoothing compound or overlay, and allow proper curing time before a single plank is laid. Cutting corners here does not save money in any meaningful sense: a floor that telegraphs its subfloor or lifts at the joints costs far more to lift and redo than proper preparation cost in the first place. If a quote for glue-down LVT seems unusually low, check what preparation it actually includes, because that is where the difference usually hides.
Fitting Glue-Down LVT Herringbone Flooring
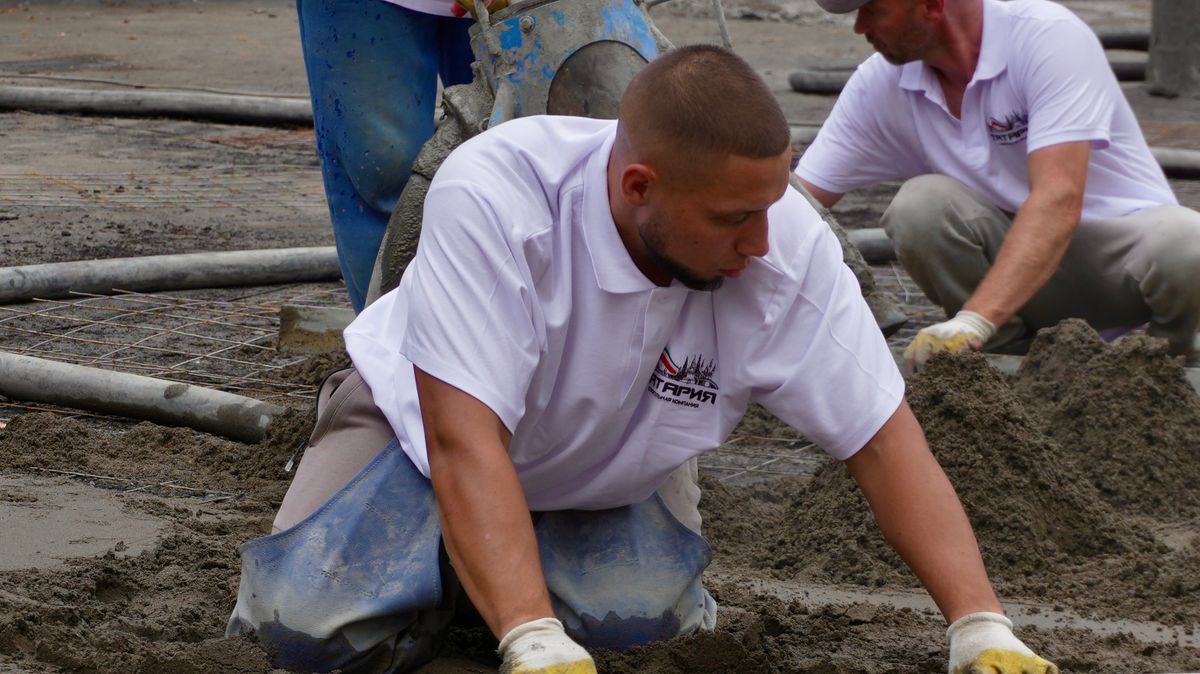
Fitting begins with layout, and herringbone layout rewards patience. The fitter establishes a central line or a line from a focal wall, then dry-lays rows without adhesive to check that the zigzag stays aligned across the room and meets walls, doorways and fixed features sensibly. This dry run catches alignment drift while it is still easy to correct, which matters enormously in herringbone, where a small error early in the pattern compounds across the floor and becomes glaring by the far wall. Starting in the wrong place or rushing the first rows is how herringbone patterns end up looking subtly wrong without anyone being able to say why.
Once the layout is settled, adhesive is spread over a manageable section of the subfloor, using the correct trowel notch for the adhesive and plank type, and allowed to reach the right tackiness before planks are placed. Each plank is pressed firmly into the adhesive and rolled to ensure full contact, working section by section so the adhesive never skins over before the planks go down. Planks cannot be repositioned freely once the adhesive grabs, so each piece must be placed accurately the first time, and cuts at walls and doorways must be measured carefully. A generous waste allowance is essential, because herringbone produces more offcuts than a straight-lay floor, and running short mid-project risks a visible batch difference in the replacement packs.
After fitting, the floor needs time for the adhesive to cure before heavy furniture is moved back or the room returns to full use. The fitter should advise how long to wait and whether the room needs to stay at a stable temperature during curing. Skirting or beading then finishes the perimeter, hiding the cut edges and giving the pattern a clean border. The result, when preparation and fitting are done properly, is a floor that feels solid and silent underfoot, with no hollow sound, no bounce and no movement at the joints.

LVT Herringbone vs Laminate Herringbone
The clearest comparison for most buyers is with herringbone laminate, because the two look so similar once laid. Laminate has a rigid fibreboard core that gives it a firm, timber-like feel and excellent scratch resistance in dry rooms, but that core swells if water reaches it through the joints, so laminate belongs in dry living spaces and needs spills wiped up promptly. LVT has no fibreboard to swell, so it copes with kitchens, bathrooms and hallways where water is a regular visitor rather than an accident. For a fuller account of the laminate side of this choice, see Herringbone Laminate Flooring: A Complete UK Guide to Styles, Fitting and Care, which sets out where laminate excels and where its water limits bite.
Feel and sound also divide the two. Laminate feels hard and solid, close to real timber, but can sound hollow or clicky underfoot without good underlay, and it transmits footfall noise more readily in flats. Glue-down LVT feels softer and quieter, with no hollow sound at all, because it is bonded directly to the subfloor. Against rigid click vinyl, the trade is different: LVT gives a lower floor height and a more completely bonded, silent result, but demands far more subfloor preparation and a professional fit, while click vinyl is faster to lay and more forgiving of minor subfloor flaws. The right choice depends on the room, the subfloor you already have, and whether you value the lowest profile and quietest result over fitting speed.
Where LVT Herringbone Flooring Works Best
Glue-down LVT herringbone is at its best in kitchens, bathrooms, utility rooms, hallways, porches and open-plan spaces that flow into a kitchen. In a kitchen, it handles cooking splashes, dropped liquids and frequent mopping without the anxiety that comes with a water-sensitive floor, and its bonded joints give the best protection against water reaching the subfloor. In a bathroom, it offers a warmer, softer alternative to cold tile while coping with steam and splashes far better than laminate or real wood. In a hallway, the herringbone pattern distracts from scuffs and wet-boot traffic, and the bonded surface does not shift under heavy use.
It also suits rooms where floor height matters, such as renovations where doors, thresholds and existing floors leave little room for a thick floating floor, and commercial-style spaces like a home office or small studio where a smart, hard-wearing surface must sit neatly against other finishes. One caveat applies, as with all vinyl: rooms with extreme temperature swings or intense, prolonged direct sunlight, such as sun-drenched conservatories, need a product rated for those conditions, because heat can affect adhesive and dimensional stability. Check the manufacturer’s temperature guidance for the exact range before committing to a very hot room.
Wear Layers, Durability and Everyday Life
In daily use, LVT herringbone is a forgiving floor. Its wear layer resists most household stains, from coffee and cooking sauces to muddy paw prints, provided spills are cleaned reasonably promptly, and it does not dent as readily as soft timber. Pet claws, toy cars and chair legs test any floor, and LVT handles that traffic well when the wear layer matches the room’s use. Deeper damage from dragging heavy furniture without pads can still mark the surface, so felt pads and lifting rather than dragging remain sensible habits, just as they are for any printed floor.
Sunlight deserves a mention in bright rooms. Quality LVT includes UV protection in its wear layer, but prolonged, intense sunlight can still fade any printed floor over time, so blinds during the brightest hours or rugs in the sunniest spots help preserve colour. Repair is one of glue-down LVT’s quiet strengths: a damaged plank can be cut out and replaced individually with adhesive and a roller, without disturbing the rest of the floor, provided spare planks from the original batch are kept. That is another reason to order spares at installation time rather than hoping for an exact colour match years later.
Caring for LVT Herringbone Flooring
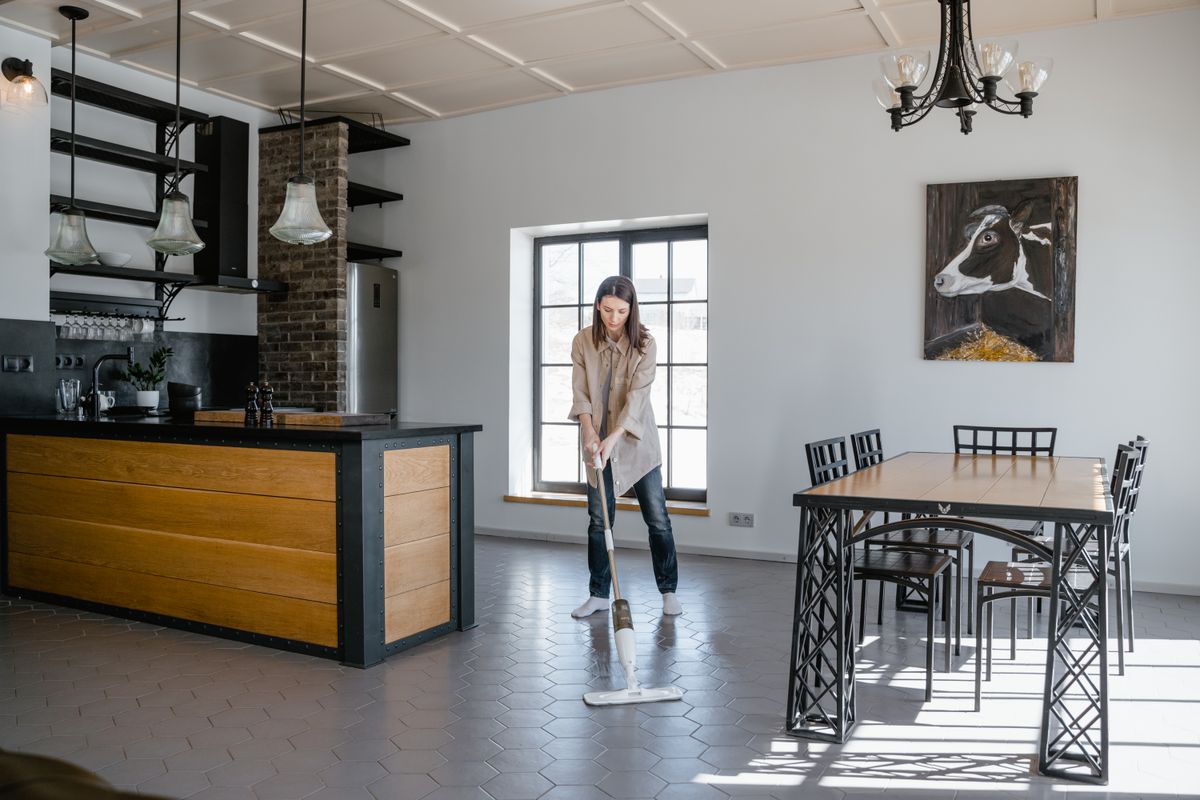
Day-to-day care is straightforward, which is much of LVT’s appeal in busy rooms. Sweep or vacuum regularly with a hard-floor setting to remove grit before it can dull the wear layer, then damp-mop with a vinyl-safe cleaner. Unlike laminate, LVT tolerates a damp mop well, and most spills can be wiped up without urgency, though prompt cleaning still keeps the floor looking its best. Avoid abrasive scourers, harsh solvents and wax-based polishes not designed for vinyl, which can dull the surface or leave a build-up that attracts dirt.
Steam mops need caution with glue-down LVT, because sustained heat can affect the adhesive bond, so check the manufacturer’s guidance for your exact product before using one. For stubborn marks, a small amount of vinyl-safe cleaner on a soft cloth is usually enough, without scrubbing the whole plank. Keeping grit out of the house with good door mats does more for the floor’s lifespan than any aftercare product, because grit under shoes is what gradually wears a wear layer down.
Cost Factors to Consider
As with any flooring, the headline pack price is only part of the total cost of a glue-down LVT herringbone floor, and the other parts matter more here than for a floating floor. Subfloor preparation, including smoothing compound or plywood overlay and the labour to apply it properly, is a significant factor. Adhesive, professional fitting, a generous waste allowance for the herringbone pattern, skirting or beading work, and thresholds all add to the total. A quote that omits preparation or assumes a perfect subfloor is not a like-for-like comparison with one that includes it.
Against that upfront cost, weigh long-term value. A properly bonded LVT floor in a kitchen or bathroom avoids the early replacement that a water-damaged laminate floor might need in the same room, and its easy cleaning keeps maintenance time low. Individual plank replacement also keeps repair costs small. When comparing LVT with laminate, tile or rigid vinyl for the same room, judge the total over the floor’s expected life in that room’s actual conditions, not just the cost of the packs on day one.
Common Mistakes to Avoid
- Skimping on subfloor preparation: Thin LVT shows every imperfection beneath it, so smoothing and levelling are not optional.
- Using the wrong adhesive or trowel: Adhesive choice affects bond strength and water resistance, so follow the manufacturer’s specification for the exact product.
- Rushing the layout: Herringbone drift compounds across a room, so dry-lay and check alignment before committing adhesive.
- Ordering too little: Herringbone needs a generous waste allowance for cuts at walls and doorways.
- Confusing LVT with rigid click vinyl: The two fit differently and need different preparation, so confirm which type you are buying.
- Returning the room to use too soon: Adhesive needs its curing time, so follow the fitter’s guidance before moving heavy furniture back.
- Ignoring temperature limits: Very hot, sun-drenched rooms need a product rated for those conditions.
Frequently Asked Questions
Is LVT herringbone flooring waterproof?
The planks themselves are highly water-resistant because they contain no fibreboard core to swell, and glue-down fitting with tight joints gives the best protection against water reaching the subfloor. Standing water should still be cleaned up rather than left indefinitely, and the quality of the fitting matters as much as the product itself.
Can glue-down LVT herringbone be fitted by a DIYer?
It is possible in a small, simple room, but it is usually a professional job, especially in herringbone. The subfloor preparation, adhesive handling and pattern alignment all demand experience, and mistakes in a bonded floor are harder to undo than in a floating floor.
How does LVT herringbone differ from SPC herringbone vinyl?
LVT is flexible vinyl glued directly to a carefully prepared subfloor, giving a low, silent, fully bonded floor. SPC is rigid-core vinyl that clicks together as a floating floor, which is faster to fit and more forgiving of minor subfloor flaws, but sits higher and can sound less solid underfoot.
Can LVT herringbone be laid over underfloor heating?
Many LVT products are compatible with underfloor heating within a stated surface-temperature limit, but you must confirm compatibility for the specific product and heating system, and bring the system up to temperature gradually. Temperature limits matter more for bonded vinyl than for some other floors.
Conclusion
LVT herringbone flooring is the glue-down specialist of the herringbone world: a thin, flexible, fully bonded vinyl floor that brings the classic parquet pattern to kitchens, bathrooms, hallways and utility rooms with a silent, low-profile, water-resilient result. Its strength is also its demand. It asks for a near-perfect subfloor, the right adhesive, careful pattern layout and professional fitting, and it repays that care with a floor that stays flat, stays quiet and stands up to daily water and traffic. Prepare the subfloor properly, match the wear layer to the room, allow generously for herringbone cuts, and keep spare planks from the original batch, and LVT herringbone will look like traditional parquet while behaving like the practical modern floor it is.




More Stories
Waterproof Laminate Flooring: A Complete UK Guide to Water-Resistant Laminate Technology
Herringbone Vinyl Flooring: A Complete UK Guide to Waterproof Styles, Fitting and Care
Herringbone Laminate Flooring: A Complete UK Guide to Styles, Fitting and Care