
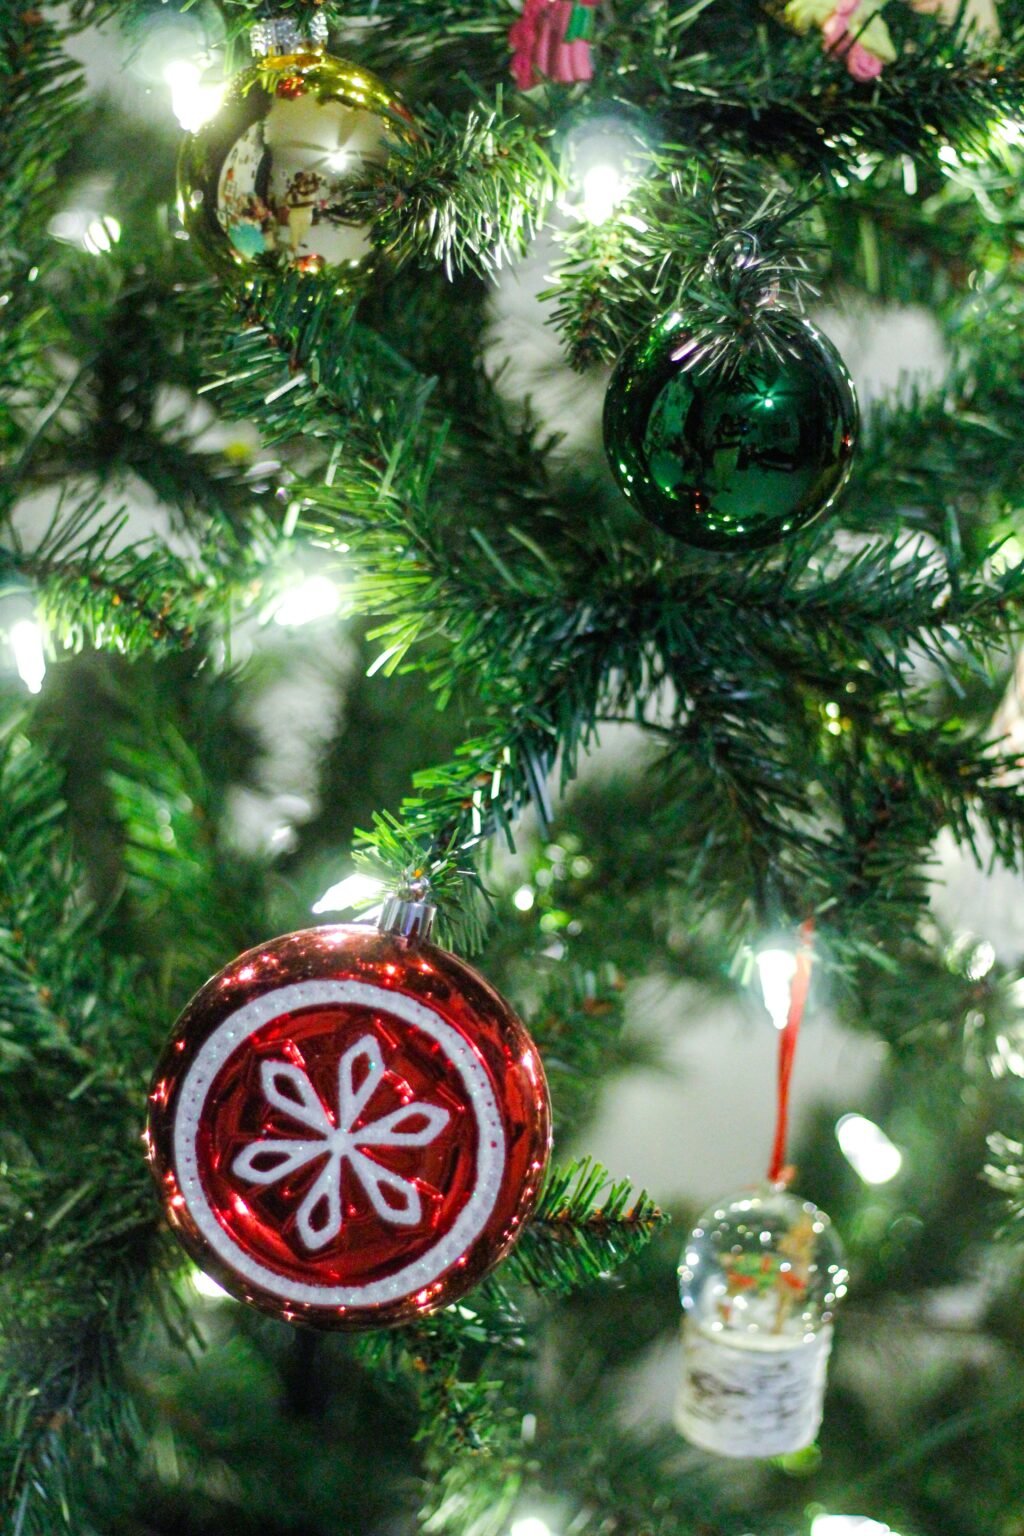
Every December the same little ritual plays out in our house. The box comes down from the loft, the lid comes off, and for a few minutes everyone goes quiet over a tangle of tissue paper and half-forgotten favourites. That moment is the real reason ornaments matter. They are not just shiny extras for the tree. They carry memory, personality and a healthy dose of showing off, and getting them right is the difference between a tree that looks assembled and one that looks loved.
This guide walks you through how to choose, mix, hang and store your festive ornaments and keepsakes, whether you are starting from scratch or refreshing a collection that has grown a bit chaotic over the years.
Why the Right Ornaments Make or Break a Tree
Lights and tinsel set the mood, but the decorations hanging from the branches are what people actually look at when they lean in for a closer peek. A well-chosen set of ornaments gives the eye places to land, adds colour and texture, and tells a story about the household that put them there. A single glass bauble inherited from a grandparent can sit happily beside a quirky felt fox from last year’s craft fair, and the tree is better for it.
The trick is to treat your tree like a small piece of interior design rather than a dumping ground. A little planning at the start saves a lot of fiddling at the end, and it does not have to cost much.
Start With a Colour Story
Before you buy anything, decide on a loose palette. You do not need to be strict about it, but two or three main colours with one accent will always look more polished than a rainbow of everything.
Some combinations that rarely fail:
- Classic red and gold: warm, traditional and forgiving. It works with almost any room and any style of tree.
- Silver, white and icy blue: cool and calm, ideal for a frosted or flocked tree.
- Deep green, copper and cream: earthy and natural, lovely beside real pine and wooden furniture.
- Blush pink and champagne: softer and more modern, a good fit for lighter, airy living rooms.
If you already own a mixed collection, sort everything by colour on the floor first. You will quickly see which shades dominate, and that becomes your palette. The odd rogue favourite can still go on, tucked toward the back.
Know Your Materials Before Buying Ornaments
The material affects how an item looks, how it catches the light and how long it will last. Here is a quick rundown of the common choices.
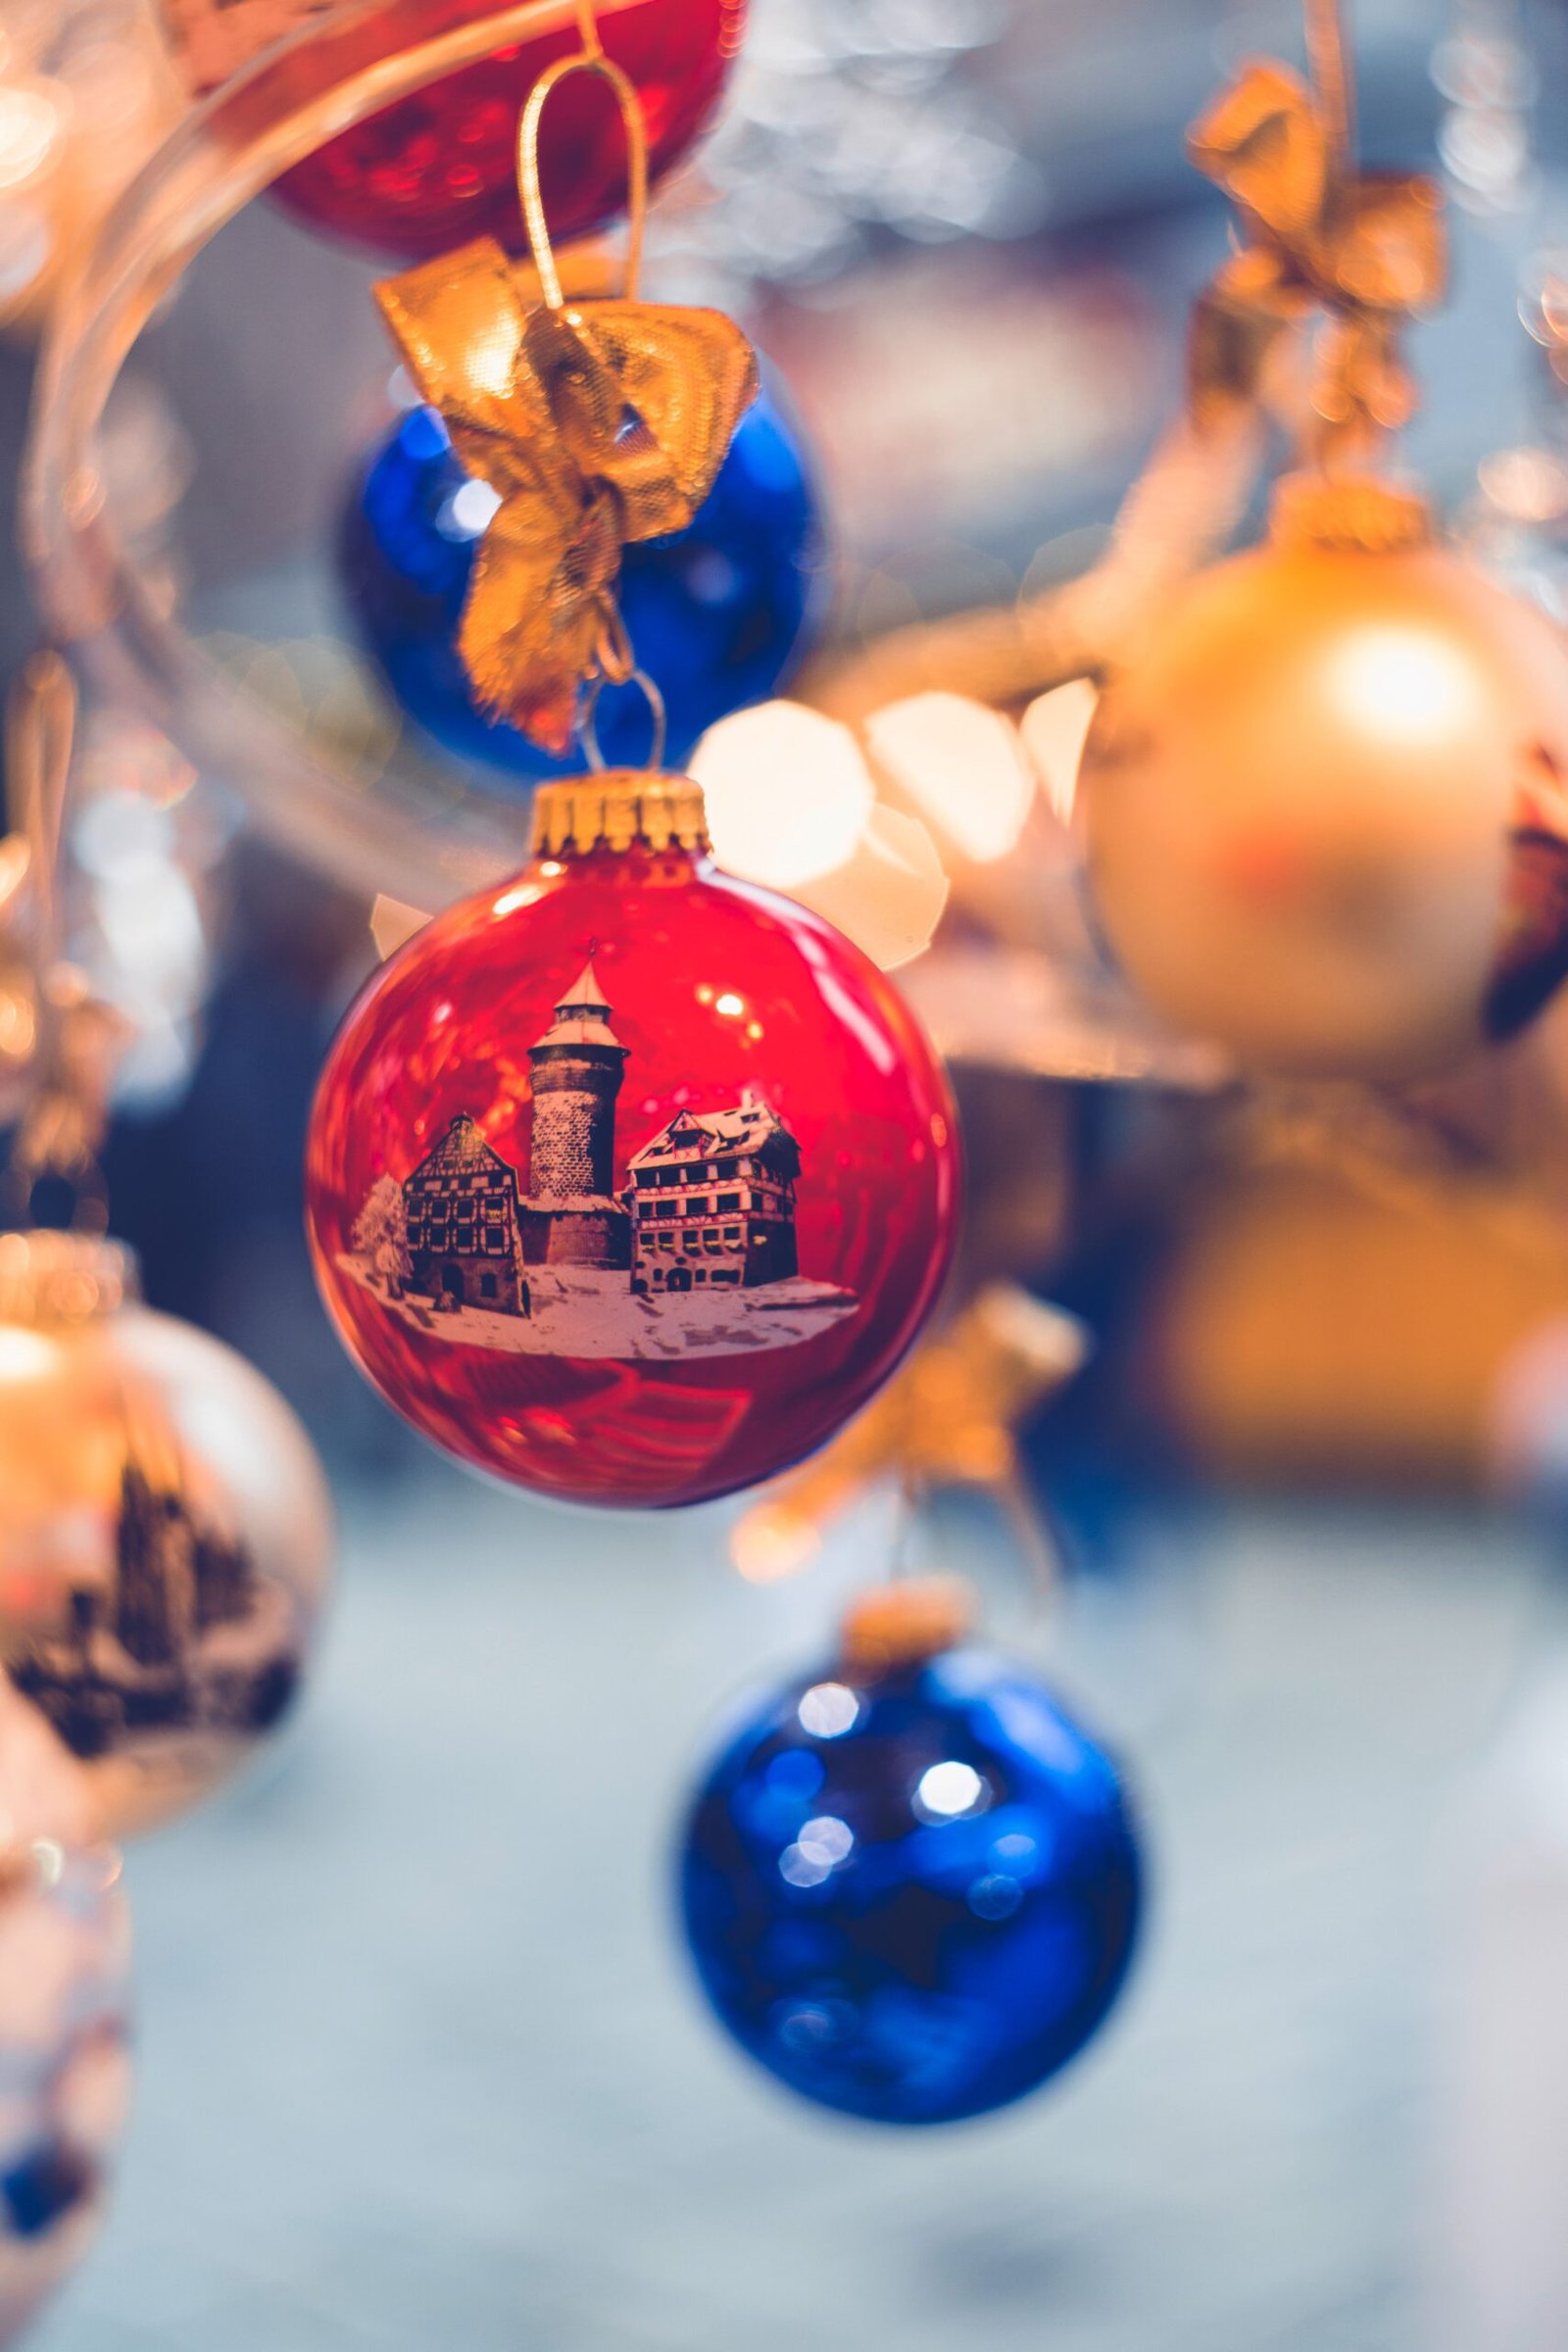
Glass is the traditional favourite. It reflects fairy lights beautifully and feels premium, but it is fragile, so think twice if you have toddlers, cats or a very enthusiastic dog. Shatterproof plastic has improved enormously and is the sensible option for family homes. Look for a matte or satin finish, as high-gloss plastic can look cheap under bright light.
Wood, felt and fabric bring warmth and a handmade feel, and they are lightweight enough for slender branches. Metal and ceramic pieces, such as stars, bells and little houses, add weight and detail. Hang these closer to the trunk where the branches are strongest.
The best-looking trees usually blend at least three materials. A shiny glass bauble next to a matte wooden star creates contrast that keeps the eye moving.
Mix Sizes and Shapes Like a Designer
One of the easiest ways to make a tree look professionally styled is to vary scale. Aim for three sizes: large statement pieces, medium workhorses and small fillers. A rough guide is one third of each, though you can lean toward whichever suits your tree.
Round baubles are the foundation, but ornaments in other shapes give them company. Add teardrops, finials, stars, pinecones, bells or tiny figures for variety. Repeating a shape three or five times around the tree creates rhythm, while a one-off showpiece, perhaps a big glittering snowflake near eye level, becomes a talking point.
Do not forget ribbon, picks, berries and dried orange slices. They fill gaps and add the layered, abundant look you see in magazine photographs.
How to Hang Them for the Best Result
Order matters. Start with lights, then add garlands or ribbon, and only then begin placing your decorations. Within that stage, work in this sequence:
- Large pieces first. Place them evenly around the tree, some tucked deep inside near the trunk and some toward the tips. Hanging a few deep inside adds depth and stops the tree looking flat.
- Medium pieces next. Fill the spaces between the big ones, stepping back every few minutes to check the balance.
- Small fillers last. Use them to plug gaps and add sparkle toward the outer branches.
- Finish with the topper. Choose something that suits the scale of the tree; a topper that is too small is a very common mistake.
Heavier ornaments belong on the lower, sturdier branches. Use proper hooks rather than relying on the thin loops that come attached, since they tend to slip. A quick squint test helps too. Step back, half close your eyes, and look for any patches that appear empty or crowded. Adjust until the colour looks evenly spread.
Use Them Beyond the Tree
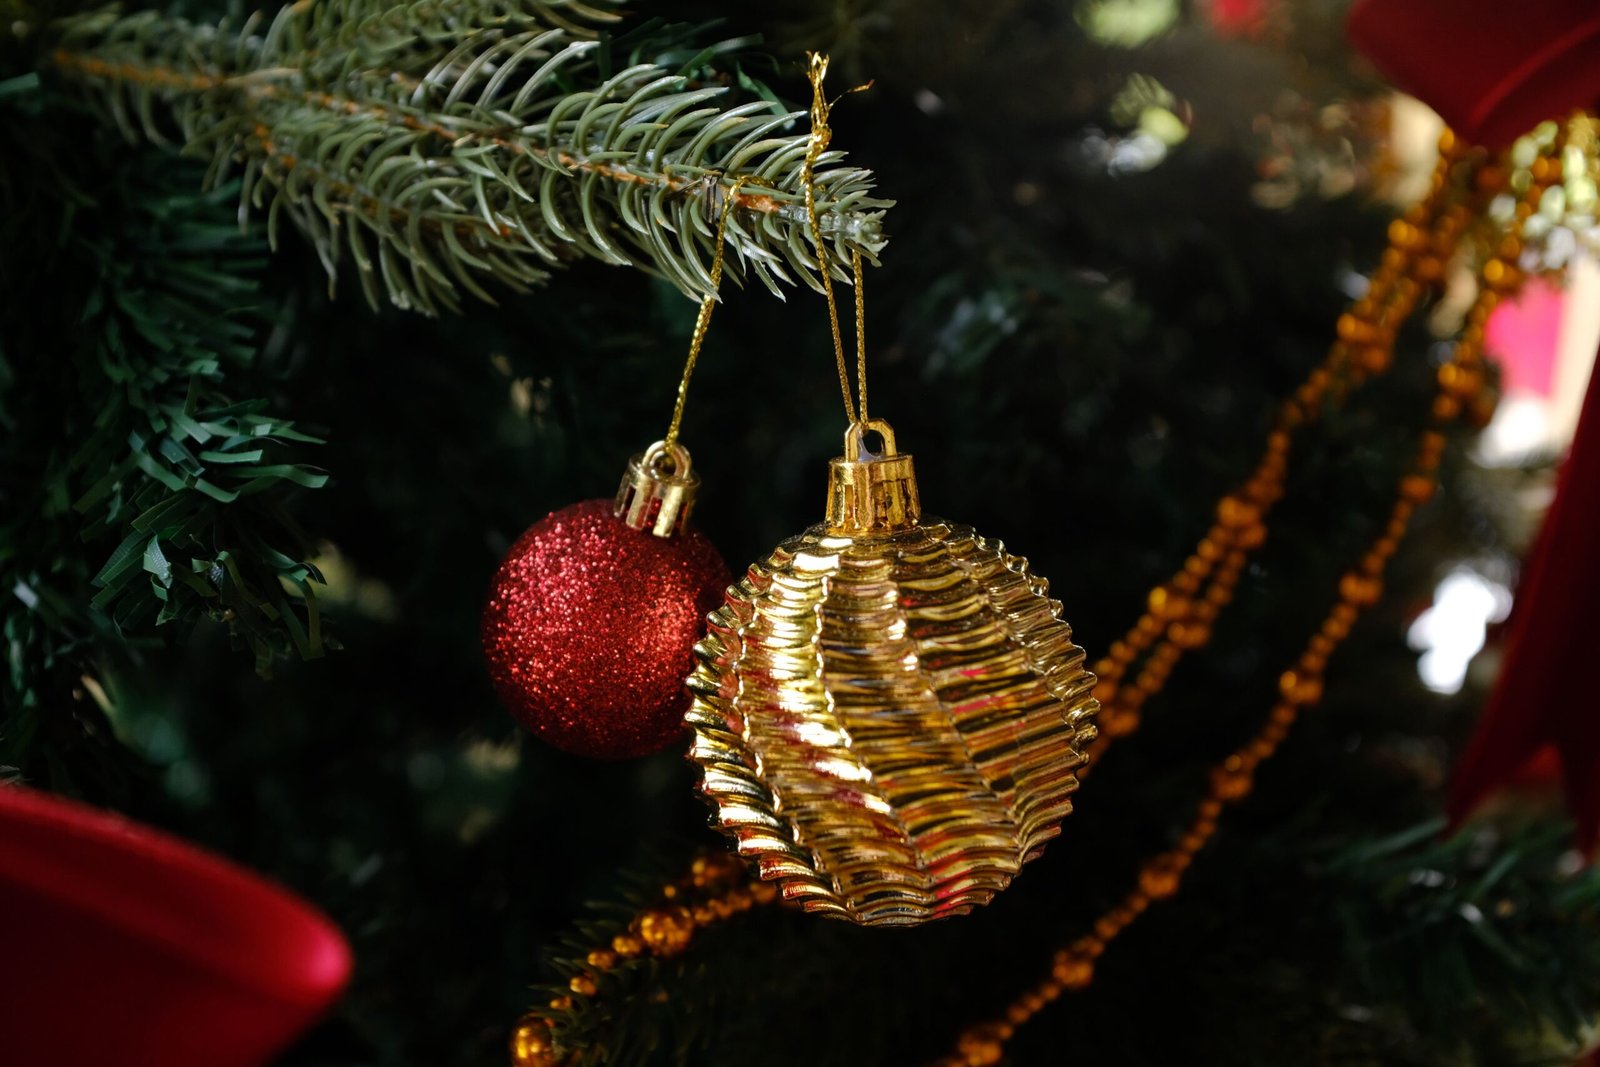
Some of the prettiest ways to use ornaments have nothing to do with the tree at all. Once you start looking, the options are endless:
- Fill a glass bowl or hurricane vase with baubles for an instant centrepiece.
- Tie a few to the stems of a wreath or garland with thin ribbon.
- Hang single decorations from curtain rails, door handles or the backs of dining chairs.
- Pile a cake stand with mixed pieces and tuck in a few fairy lights.
- Add a small one to each wrapped present as a gift tag that doubles as a keepsake.
This is also a clever way to use up odd singles and extras that did not make it onto the tree this year.
Personal Touches That Matter
The pieces people remember are rarely the most expensive. A first Christmas bauble, a hand-painted decoration made by a child, a souvenir picked up on holiday: these are the items that turn a tree into a family scrapbook. Consider starting a tradition of adding one new piece each year, perhaps with the date written on the back in marker. Within a decade you will have a tree with a story in every branch.
Buying Smart Without Overspending
You can build a gorgeous collection on a modest budget if you shop with a plan. Buy basic baubles in bulk boxes in your main colours, then spend a little more on a handful of special pieces. After the festive season, markdowns can be generous, which makes January sales an excellent time to stock up for next year. Charity shops and car boot sales are also worth a rummage for vintage glass pieces with real character.
When buying online, check the dimensions carefully. A bauble that looks substantial in a photo can turn out tiny in real life, and a pack of 50 small ones will not fill a six-foot tree the way you imagined.
Storing Your Ornaments for Next Year
Good storage is what keeps your favourites alive for decades. Wrap fragile glass pieces individually in tissue paper or soft cloth, and use a divided box or egg-carton-style tray if you can. Store the box somewhere dry and away from extreme temperatures, as damp loft spaces can ruin finishes and rust metal caps. Label each box clearly by colour or room so that next December starts with a calm unboxing rather than a frantic search.
Quick Answers to Common Questions
How many decorations does a tree need? As a general guide, allow roughly 10 to 15 per foot of tree height for a full look, and fewer if you prefer a minimalist style.
Should everything match? Not at all. A shared colour palette or theme matters far more than identical pieces.
Can I mix old and new? Absolutely. Combining heirlooms with fresh additions is what gives a tree its character.
Final Thoughts
Decorating is meant to be fun, so do not agonise over perfection. Pick a palette, mix your materials and sizes, hang the big pieces first, and let your personal favourites take pride of place. The most beautiful trees are the ones that feel lived in and loved. Pour yourself something warm, put on some music, and enjoy the process of making your ornaments shine this festive season.



More Stories
Interior Designer Salary: The Complete 2026 Guide (Entry-Level to Six Figures)